Register a Defect
Users can register a defect manually or utilize the AI suggestions to register defects quickly.
Add a defect manually
- In the asset overview page, open the desired asset to start the inspection.
- Zoom in the component by using the mouse or the zooming feature in the Navigator part on the upper right corner of the screen.
-
Press Ctrl/Cmd + n on the keyboard, or click on the plus button available on the tool at the bottom of the window and use the mouse to mark the area with the defect. A tab will then open on the right part of the screen.

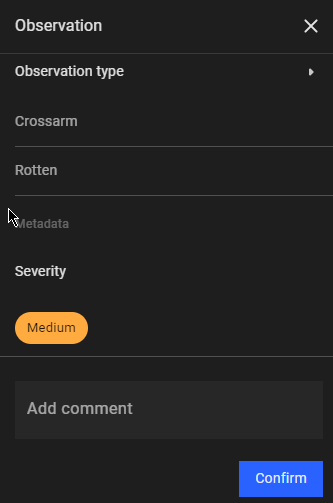
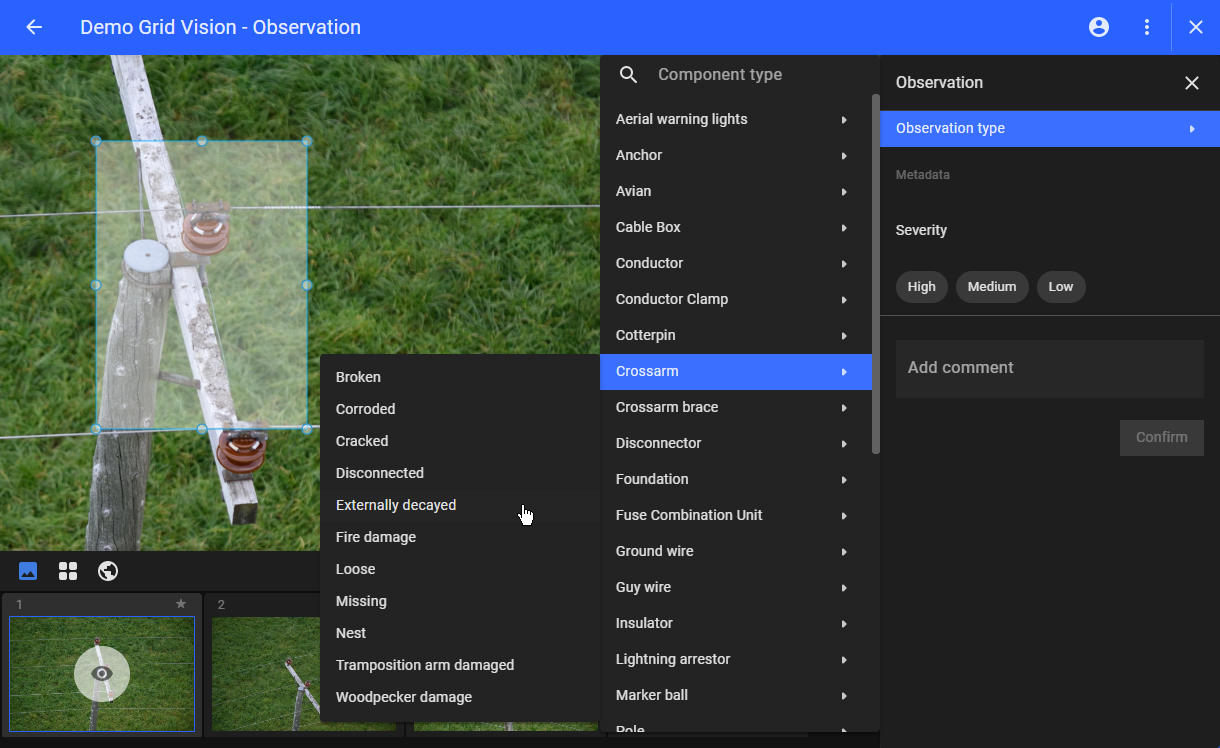 4. Click on the “Observation type” to choose the component from the list, then the defect type, or Click on the search text field to search for the component type by typing its name in the Component search bar. Select the severity level (High, Medium, Low) (optional) and add a comment if needed.
-
Click on the "Confirm" button. A confirmation message at the bottom of the page is displayed. A bounding box representing the observation appears on the image, and the added defect is listed on the right-hand side of the page.
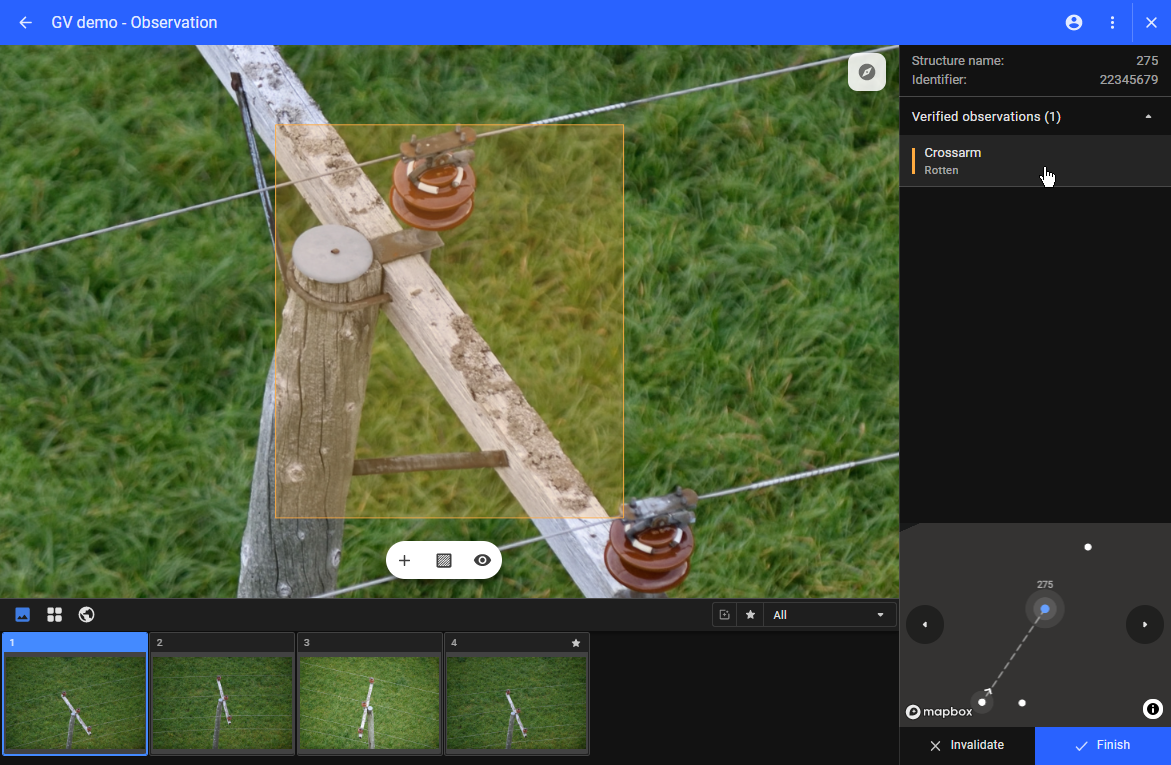
The color shown next to the registered observation is based on the selection made for Severity. * Purple: low severity * Orange: medium severity * Red: high severity
As the observation is registered on this asset, the eye icon
 is now shown on this asset on the Asset overview page. The verified observation filter is also updated.
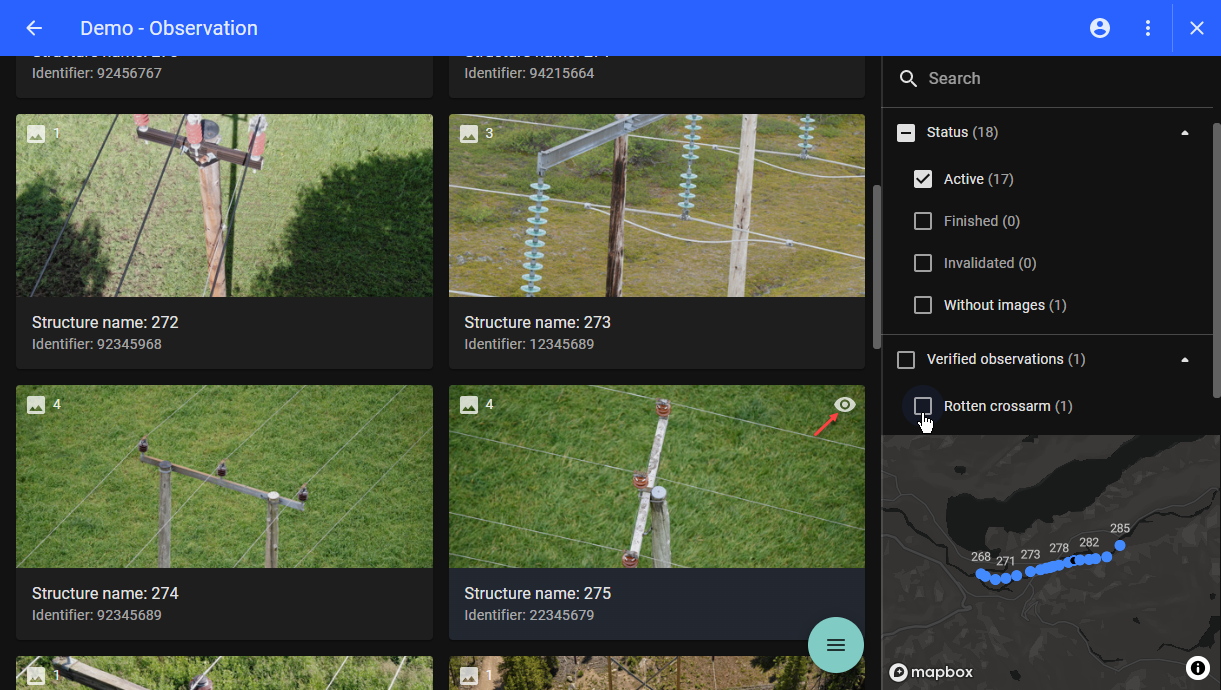
Register a defect from an AI suggestion
The observations created by the collaborative AI in Grid Vision® Inspect will be shown as suggestions in each asset. With the AI support, users can skip zooming in the components, skip drawing a bounding box, and identify and register a defect quickly. Follow these steps to take advantage of the AI feature.
- Click on the suggestion box for a defect type. A list of the AI suggestions for that defect type in different images associated with that specific asset appears.
- Select an image in the list and that image will be shown in the main screen. It will be zoomed to the area around the suggested defect. A bounding box is also available to highlight the defect area to save the work for inspectors.
-
If the suggestion is correct and should be registered as a defect, click on the "Use" button.
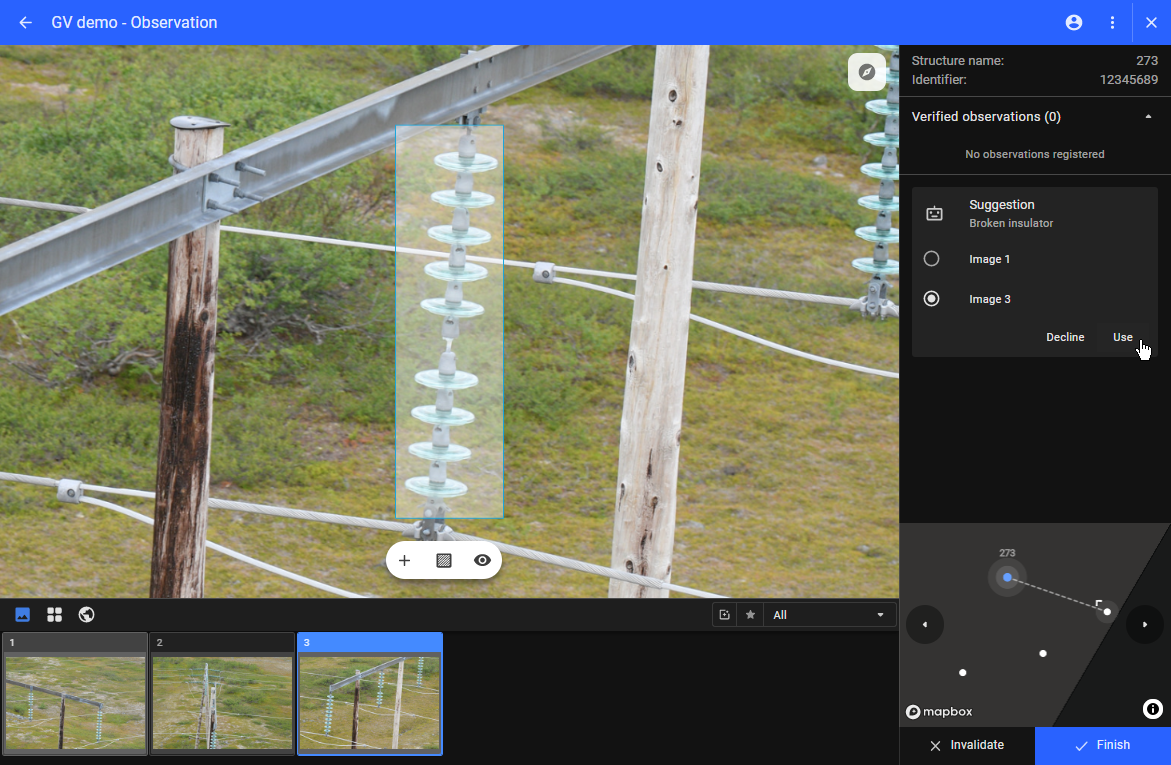
-
Once the "Use button" is clicked, the edit form is displayed on the right panel.
-
Add severity or comment (optional). Users can select the severity level among Low, Medium, and High. Low severity is shown by default.

-
If severity level should not be Low, hover over the low severity icon and click on the delete button (x). Now select from any other severity level.
-
Click on the "Confirm" button and amessage is displayed at the bottom of the window.
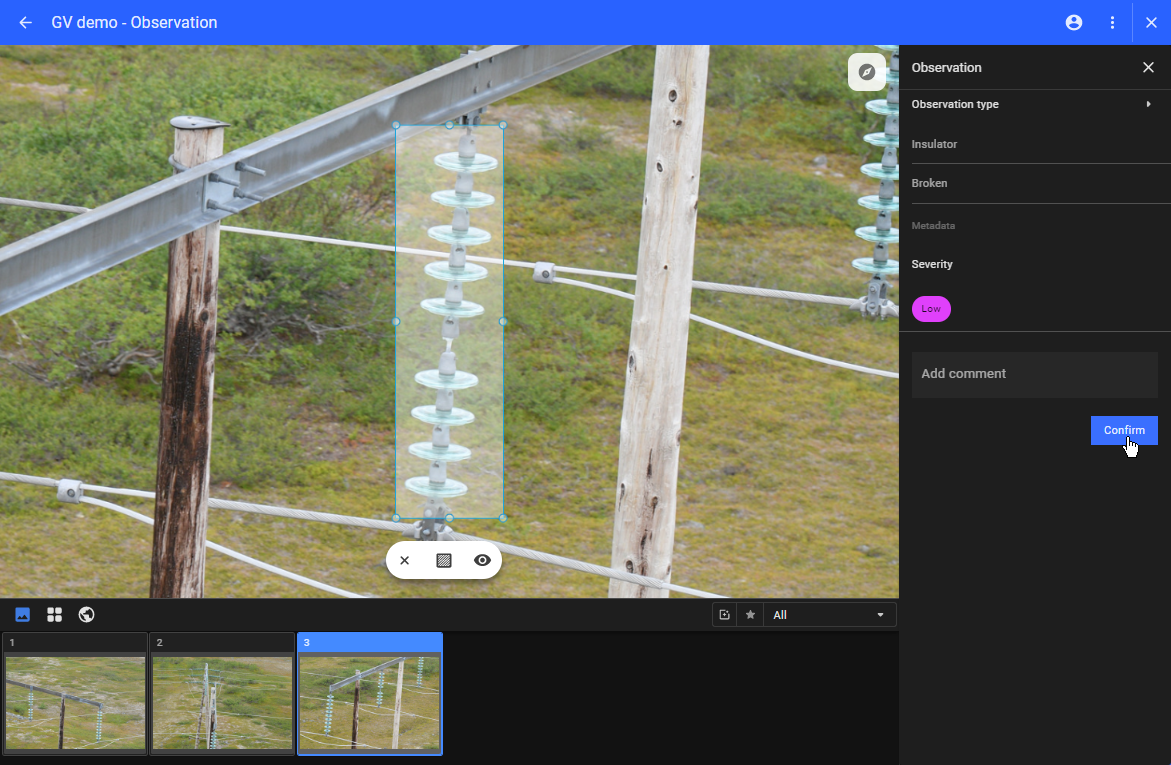
-
The validated observation is now shown on the right panel and becomes a verified observation just as an observation that is registered manually without AI support.
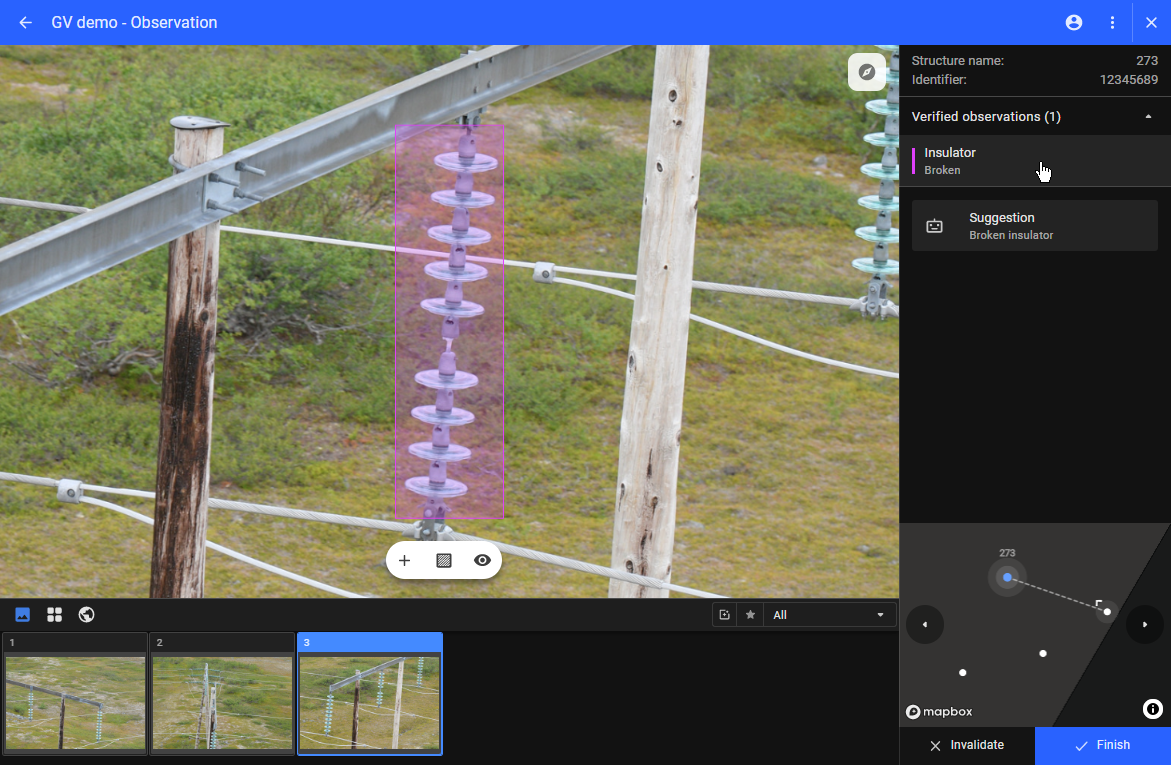
-
If the suggestions are incorrect, users can do either of the following action:
-
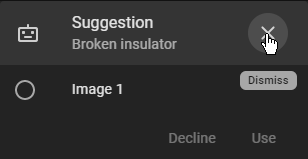
Remove a suggestion from all relevant images by clicking on the "x" mark in the top right corner of the suggestion box. The “x” mark can be seen by hovering over the suggestion header
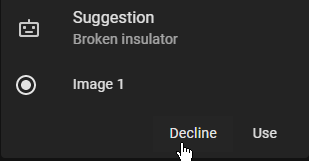
- Remove a suggestion from a specific image from the suggestion list and click on the "Decline" button
-
Just leave them untouched. However, collaborative AI is getting better with feedback, and the above two declining action is recommended.
Finish an Asset
When all defects are registered for an asset, users can mark the asset as “Finished”.
To mark an asset as “Finished”, click on the "Finish" button. This locks the asset and automatically changes the screen to view the next asset.
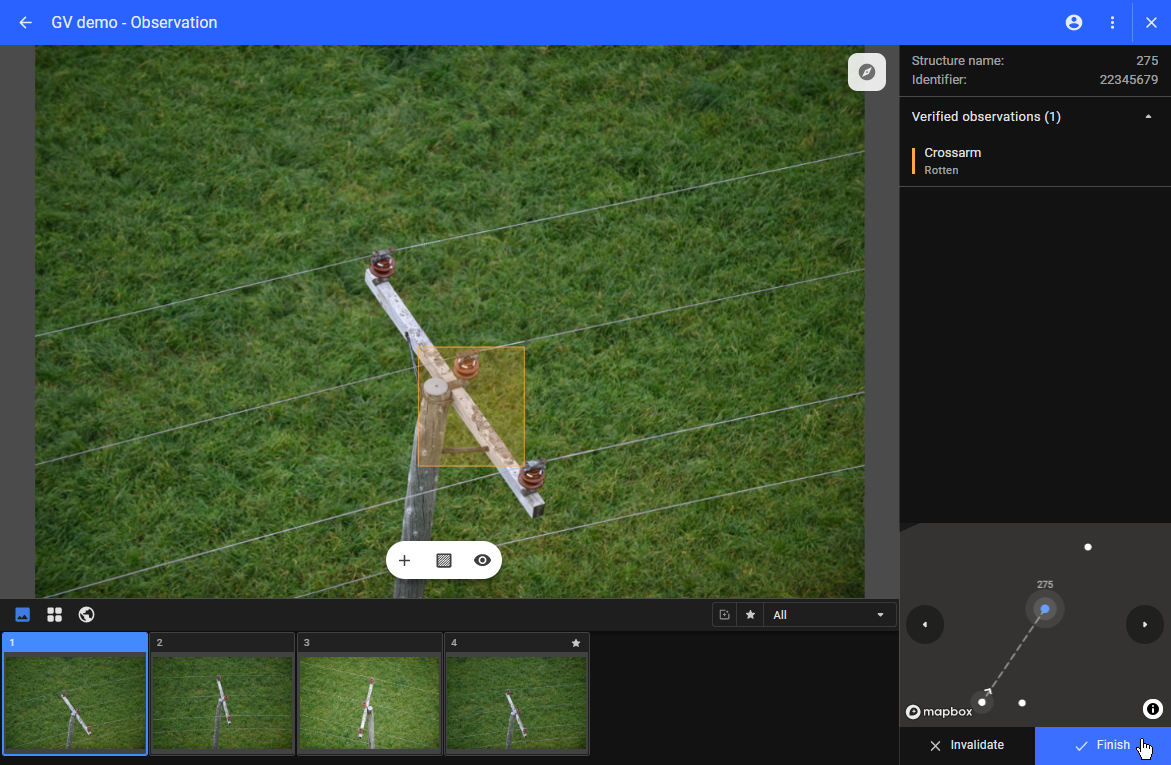
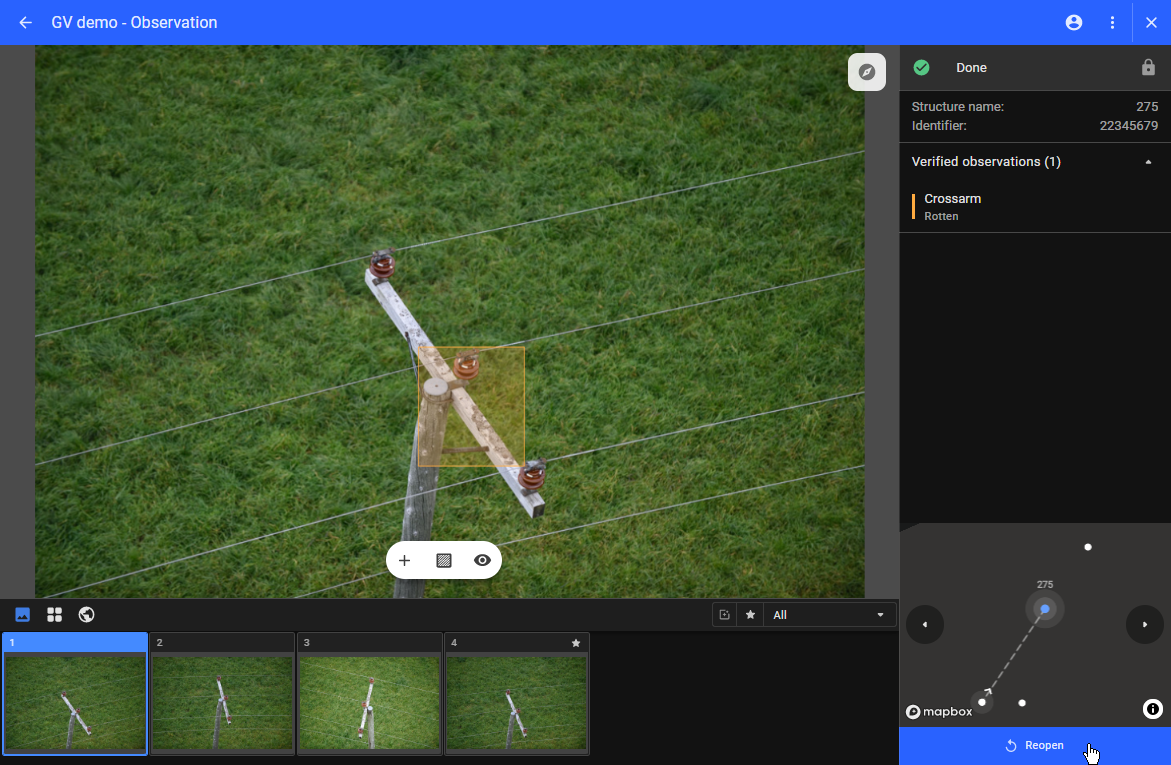
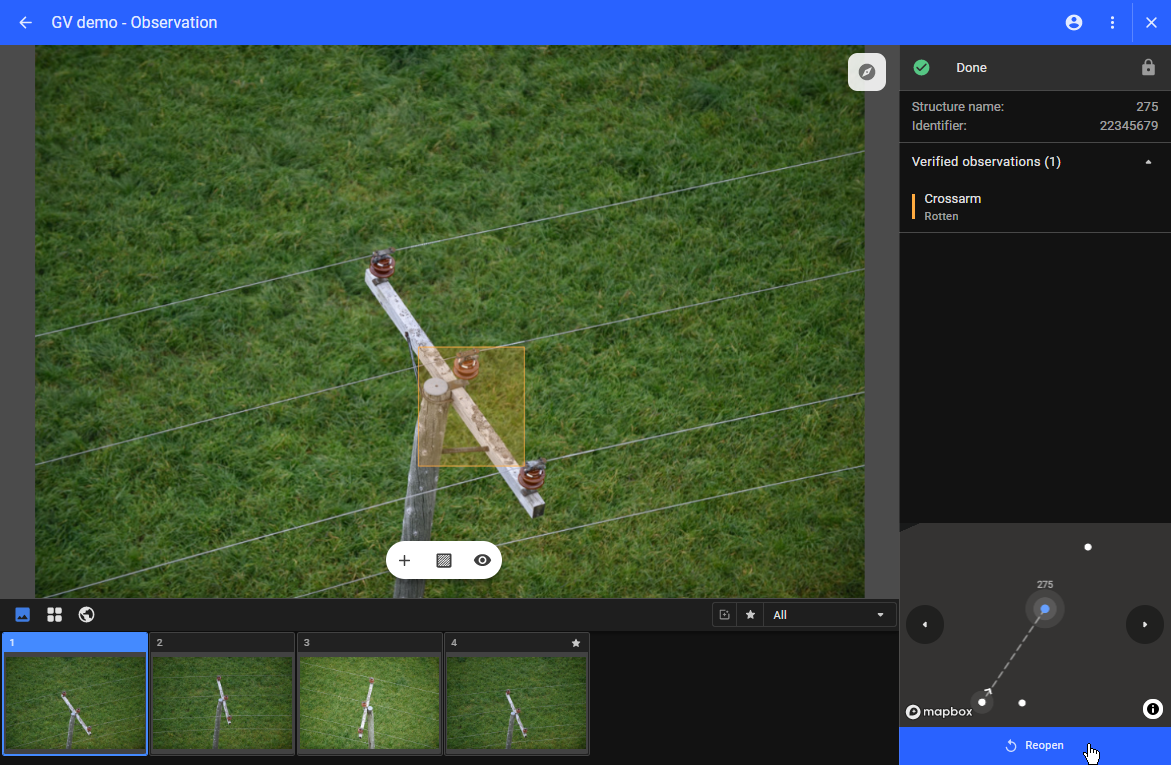
When an asset is finished, The green checkmark and “Done” status now appear above the asset information.
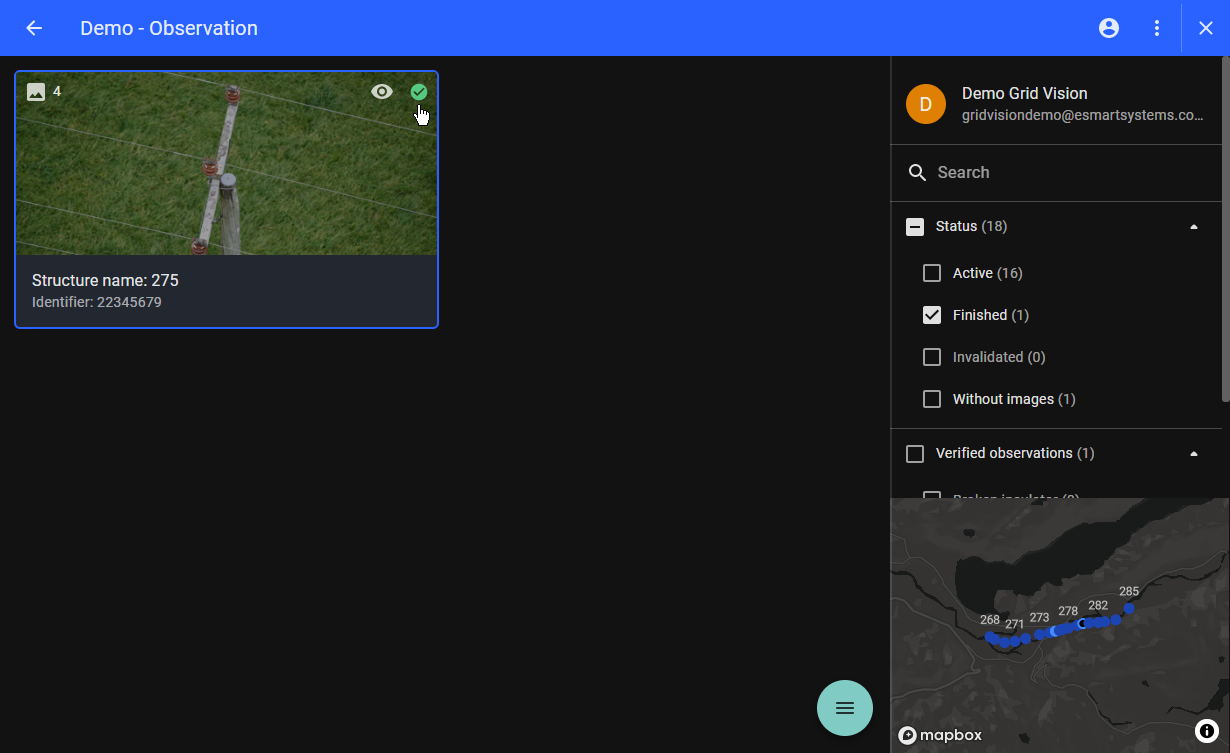
In the Asset overview page, users can easily recognize the finished assets with the green checkmark icons. The count number is increased accordingly in the Finished status filter when assets are finished, making it convenient for users to filter.
The finished asset is locked and needs to be re-opened in order to edit anything. To do so, select the Reopen button at the bottom right corner of the window.
When the user starts the inspection (finishes the first asset), the progress line is filled with white color. However, the status of the dataset is still in progress.

Invalidate the Asset
For different reasons, an asset needs to be marked as invalidated.
To invalidate the asset, Select the “Invalidate” button on the Asset view page. A popup screen shows up for users to add a comment. Adding a comment is compulsory.
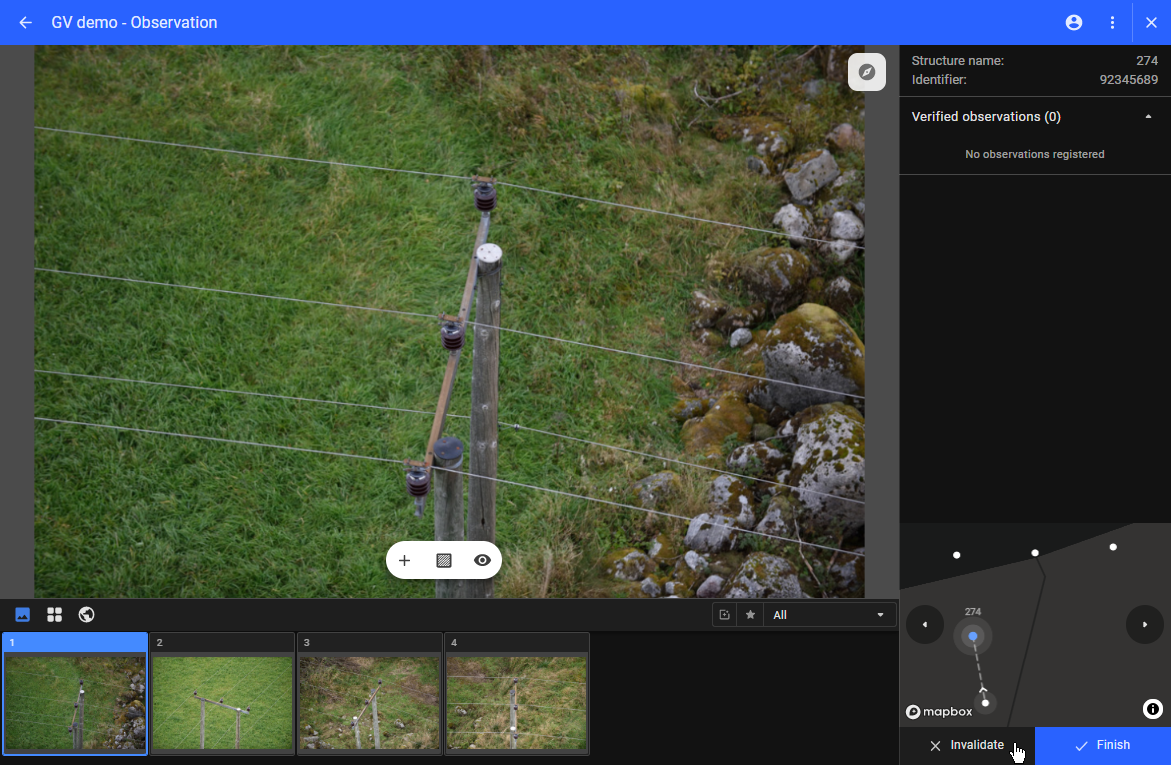
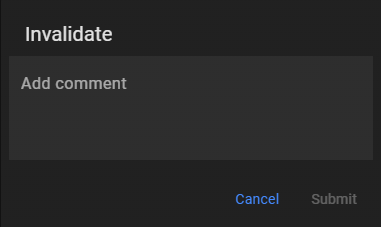
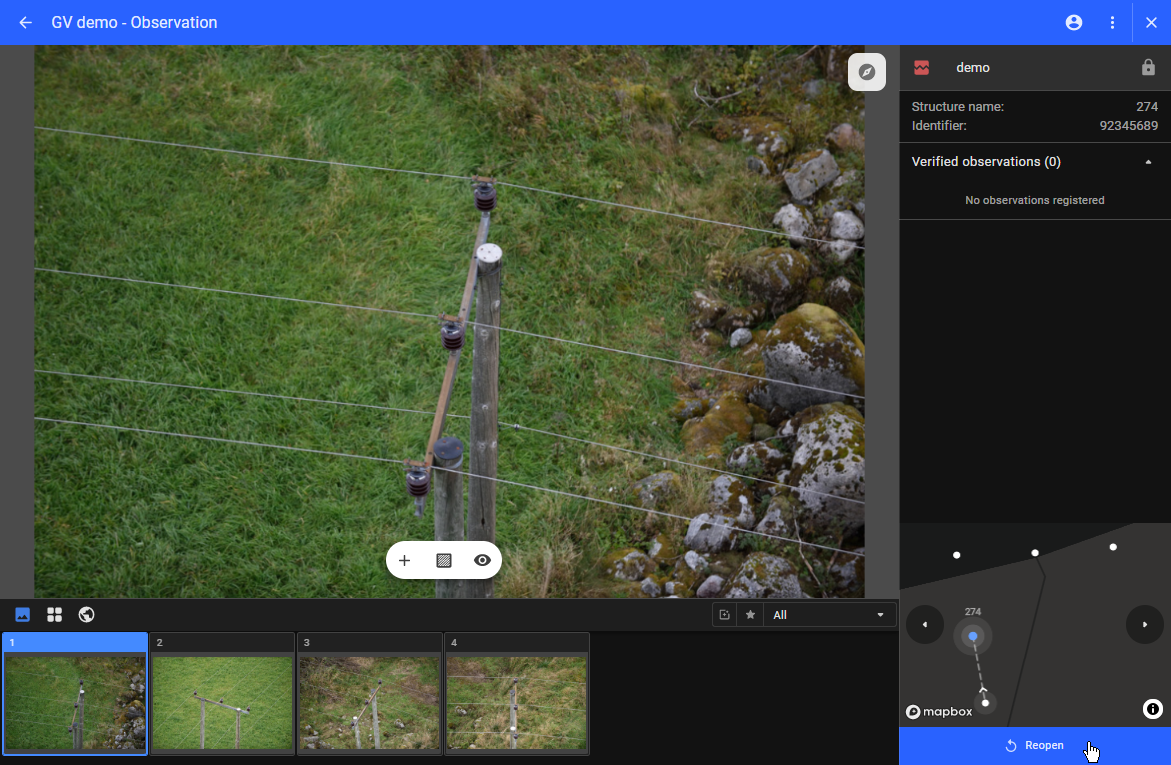
After users hit the "Submit" button, the asset is locked and also marked as invalidated. The next asset is automatically presented on the screen. The invalidated icon and the comment now appears above the asset information.
-435c9652-03a8-4742-9711-70e9fa9a99a8.png)
In the Asset overview page, an invalidated icon is shown on that asset, and the count number is increased on the invalidated status filter.
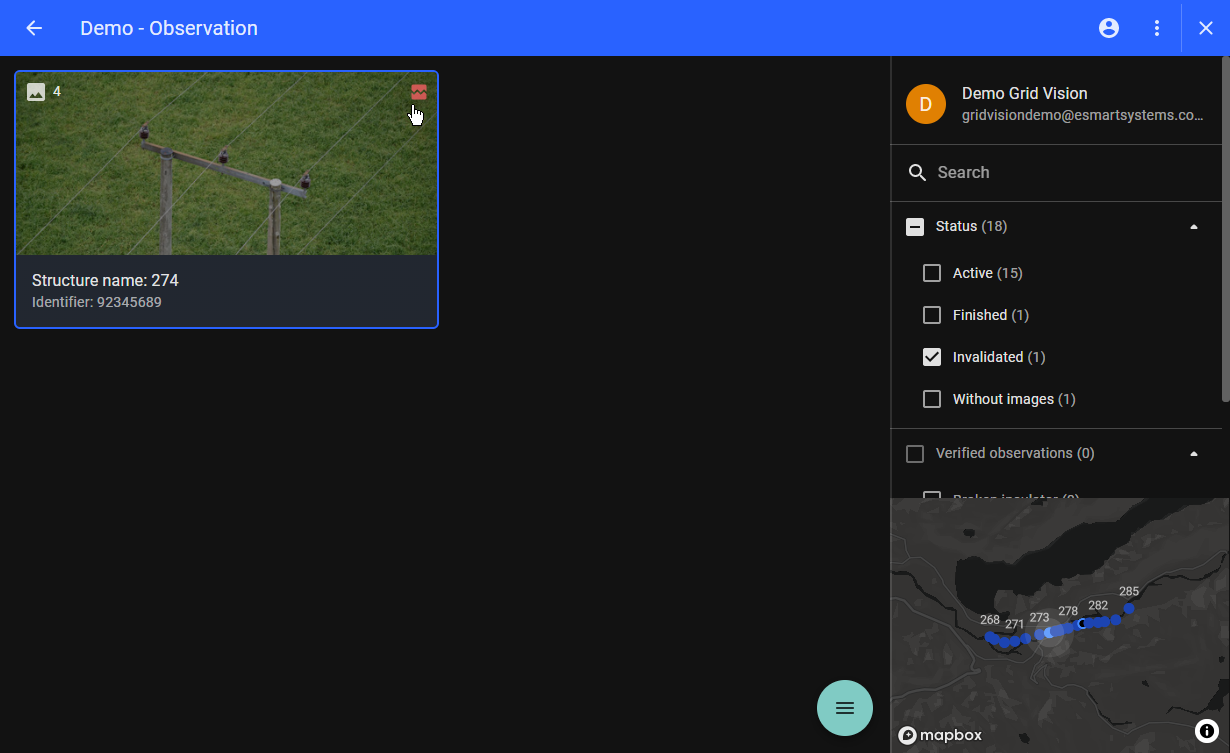
If users want to edit the work in an invalidated asset, users can go to the desired asset and select the Reopen button at the bottom right corner of the window to reopen the asset.
Re-open an asset
To edit for an asset that has a lock icon which occurs when the asset is either set to a finished state or invalidated state.
