Asset View
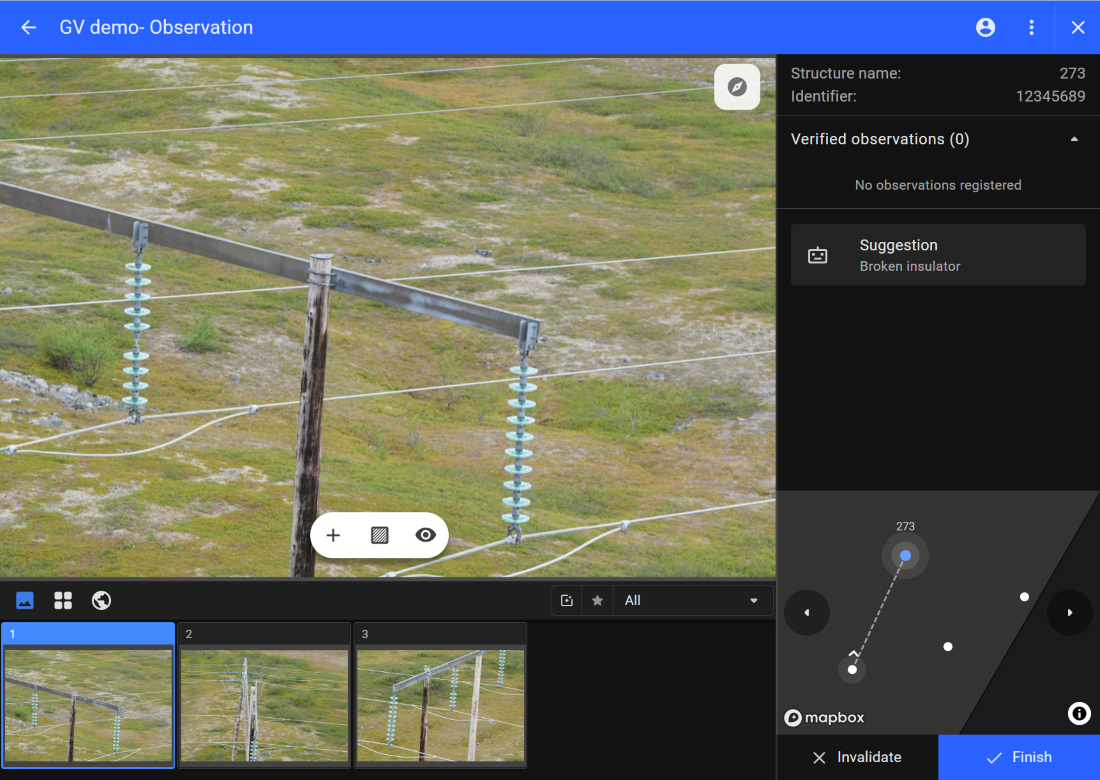
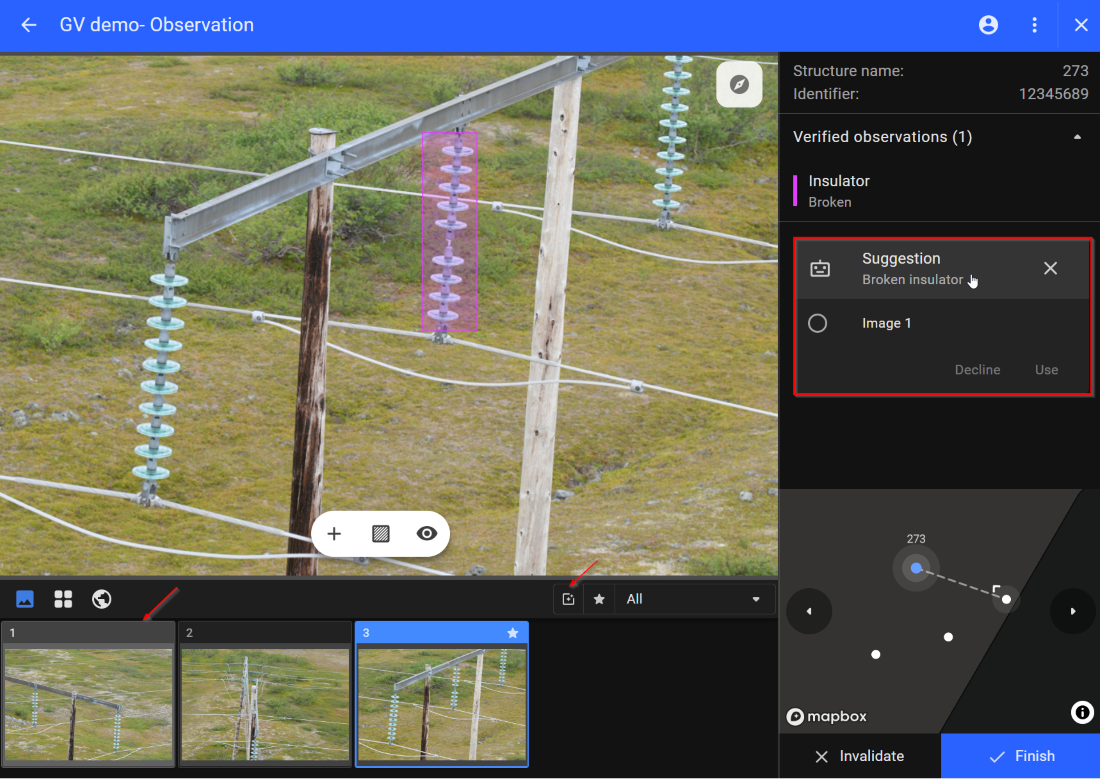
Start the inspection by clicking on a specific asset. The images associated with the selected asset are then displayed as an image gallery at the bottom of the window and the selected image is displayed in a bigger size. Users can change to view other images by either sliding into the image gallery section or using a horizontal scrollbar.
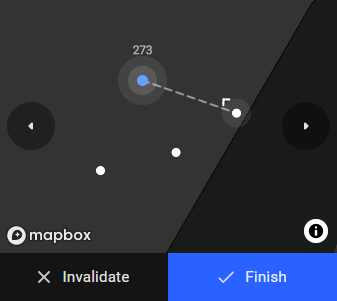
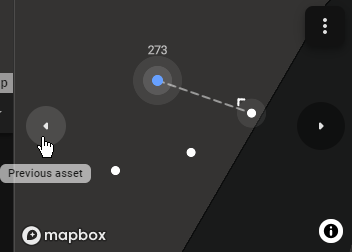
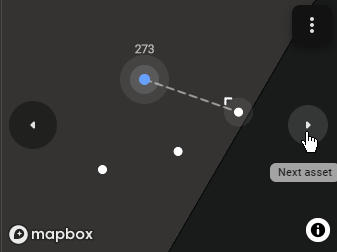
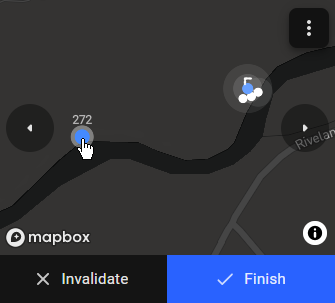
The minimap on the lower right corner displays the location of the current asset as a blue dot and the associated images as white dots. The left navigation icon and right navigation icon in the mini-map help to navigate to the previous and next assets. The right side of the window displays observations and asset information.
Available Keyboard shortcuts
| Shortcut Keys | Action |
|---|---|
| Left and right arrows | Navigate between images in the gallery |
| Shift + draw rectangle | Zoom to the area - Cursor changes when pressing the shift key |
| Cmd 0 / Ctrl 0 | Zoom to fit entire image |
| Cmd + / Ctrl + | Zoom in |
| Cmd - / Ctrl | Zoom out |
Register a defect
Users can start inspection on this page.
Users can register the defect manually by clicking on the Plus button which creates a bounding box on the image.

Users can also validate the suggestion by clicking on the AI suggestion available on the right-hand side of the window.
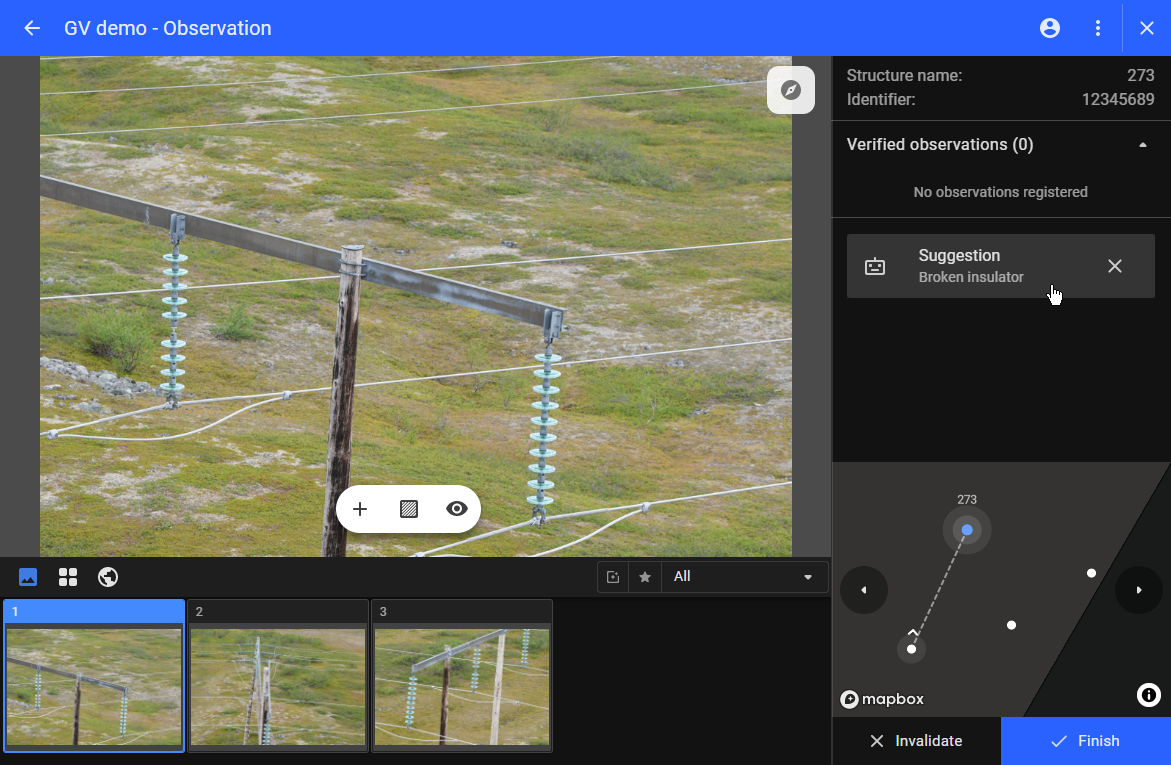
When an observation is registered, either manually or with AI support, it will be included under verified observation.
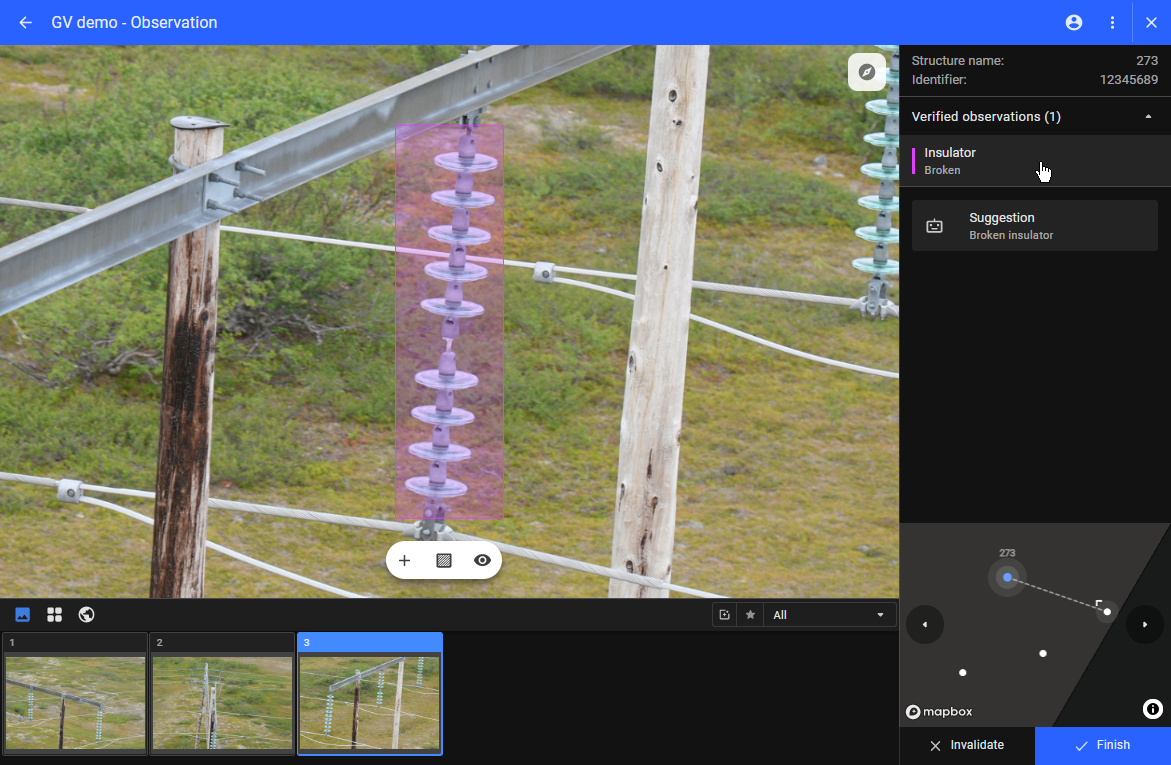
Users should also finish or invalidate the work on an asset when all the necessary observations have been registered.
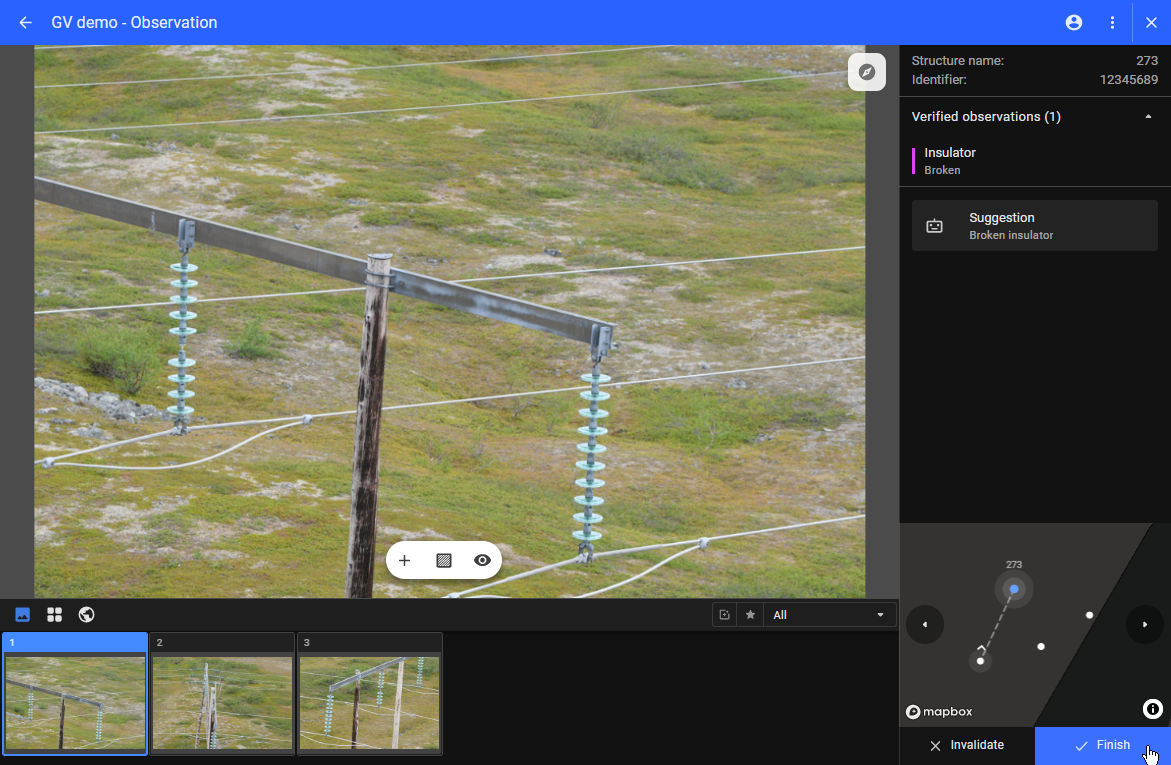
Go to the Register a defect section for more information.
Zoom in/zoom out
There are 4 ways of zooming for doing inspection work.
- Use the mouse to zoom in/out.
- Use keyboard shortcut: Cmd + / Ctrl + to zoom in, Cmd - / Ctrl – to zoom out.
- Press Shift and draw a rectangle around the wanted area to zoom in there.
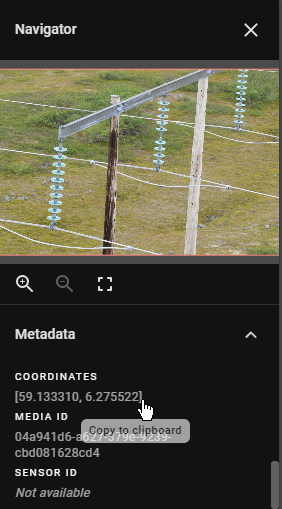
- Use the navigator
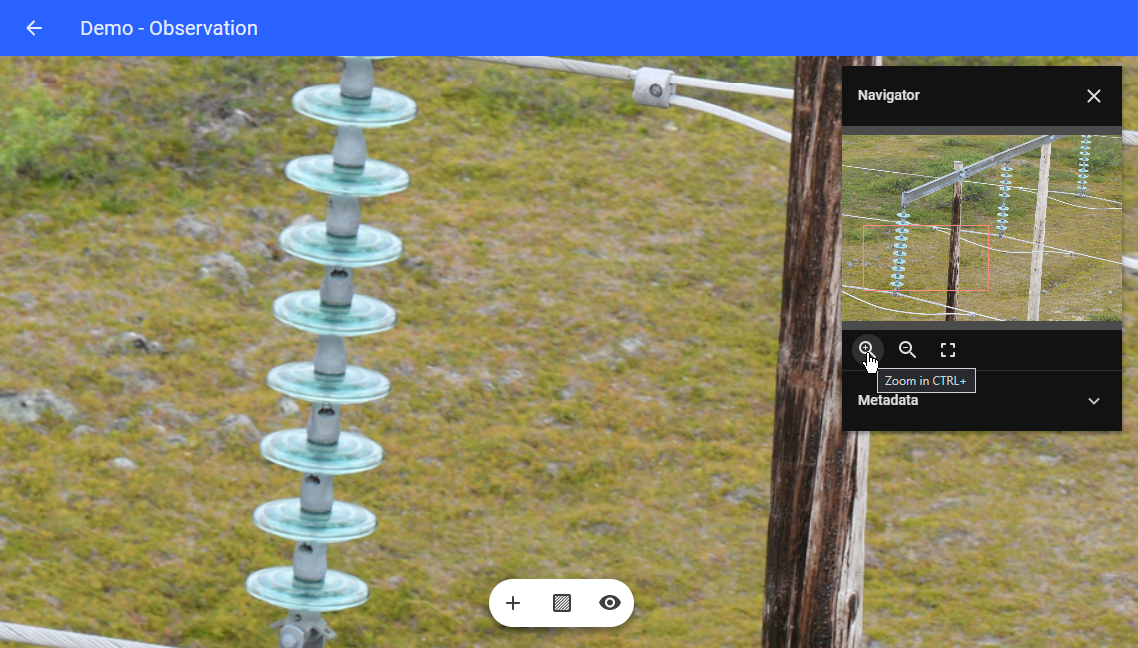
- Click on the navigator symbol on the top right-hand side of the screen.
- On the Navigator pop-up:
- Click on
 or hit Cmd + / Ctrl + to zoom in
- Click on
 or hit Cmd - / Ctrl – to zoom out
- To reset, click on
 to fit the screen or hit Ctrl 0.
- Drag the red square box to any area of the image and the relevant area of the image is shown in the center
Change Asset view

-
Single Image View
 : Selected image is displayed in a bigger size.
 -
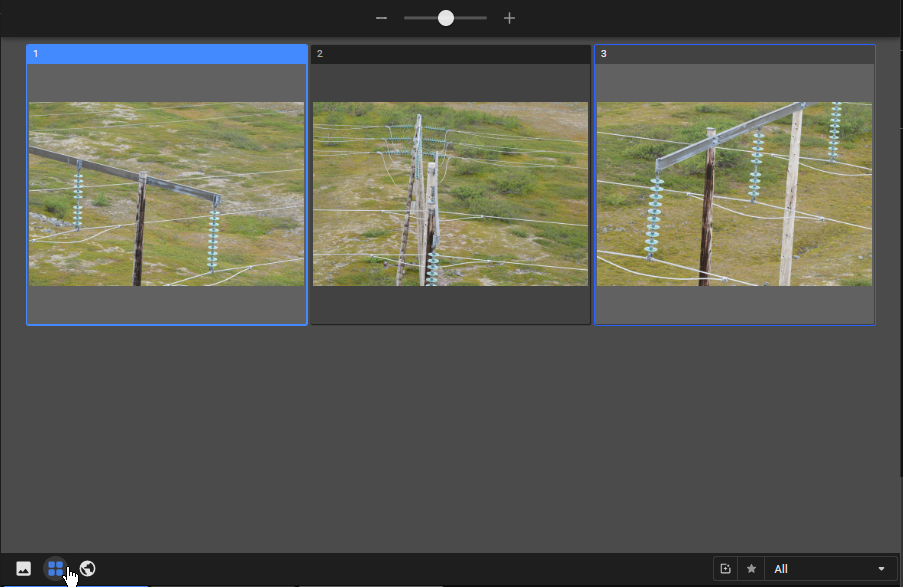
Image Gallery View
 : Images that are linked to the asset are shown in thumbnail size. The size of the thumbnails is adjustable and clicking an image will make that image fill the canvas. This is convenient to select the best picture to work on, especially when there are many images linked to an asset.
Filter Image Gallery
To filter the image gallery, use the Image filter option available on the upper right side of the image gallery.
-
By default, "All" option is selected meaning all images that are linked to the asset are displayed.
-
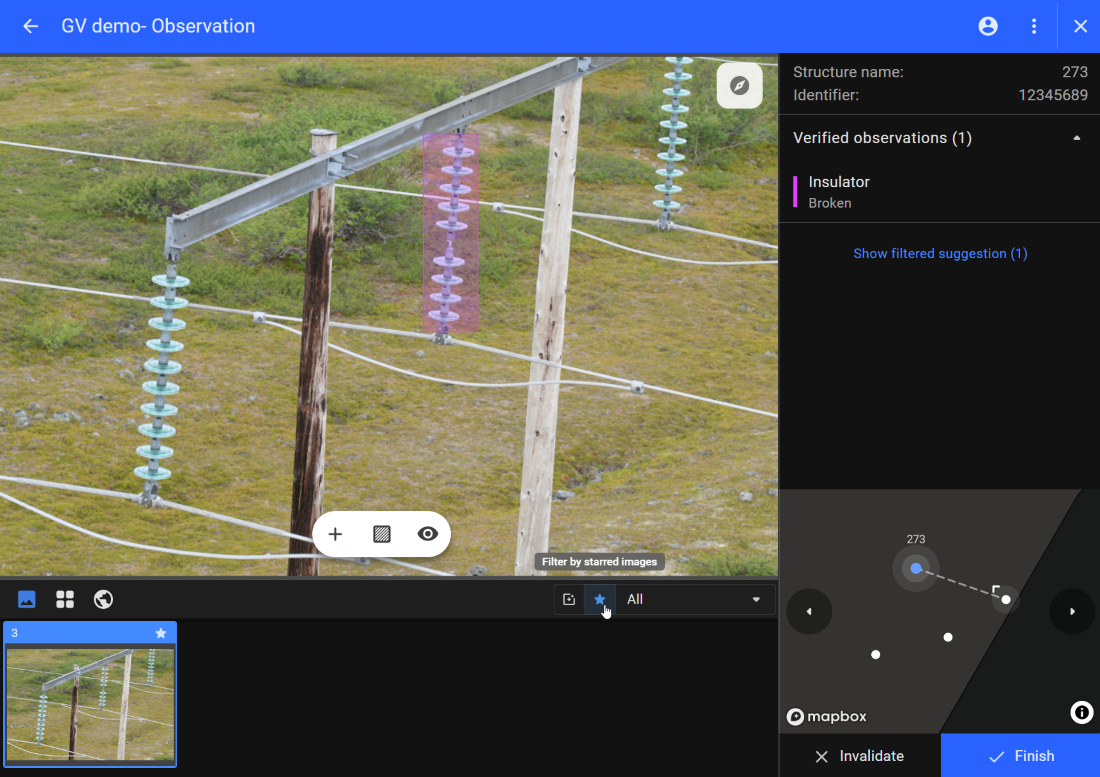
Show Starred: Users can click on the Starred button to filter those images that are tagged with stars in the image gallery. The starred button is active, if the images are tagged with a star.

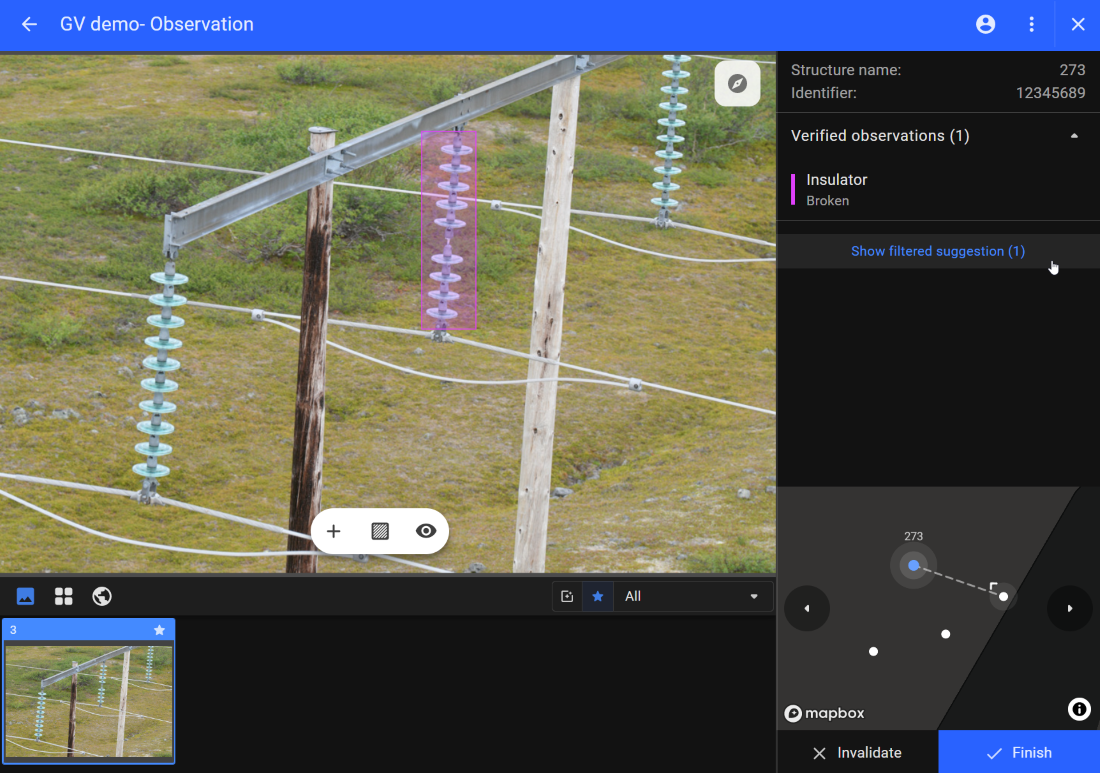
By clicking on the Starred button, relevant image thumbnails are filtered out those images that are tagged with starred and the suggestions shown will only be from these images. This is particularly useful on assets with many more or less identical images, leading to fewer duplicate suggestions.
-
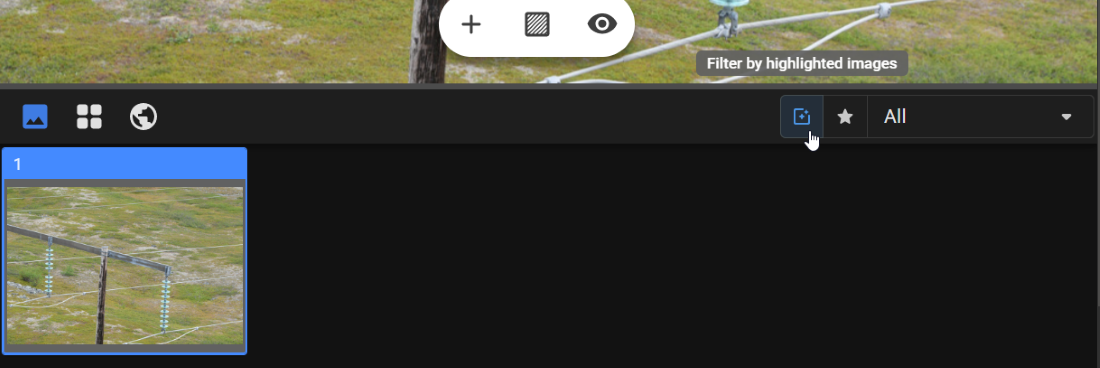
Show Highlight: When opening observations or suggestions, the highlight button will be active and the relevant image thumbnails are highlighted. Users can click on the Highlight button to filter the images that are included in an observation or suggestion (Remember to open the suggestions or observation). This makes it easier to navigate between the images with relevant information on them. This is particularly useful on assets with many images.
After clicking on the Highlight button, relevant images are filtered out.
NB: Both of these filtering options (Starred and Highlight) will remain on when they have no effect, until deactivated by the user. If a unique suggestion is filtered out due to not being on the starred image, the message below the suggestions will indicate this. Users can click on the message to resets the filter.
View assets and images on the map
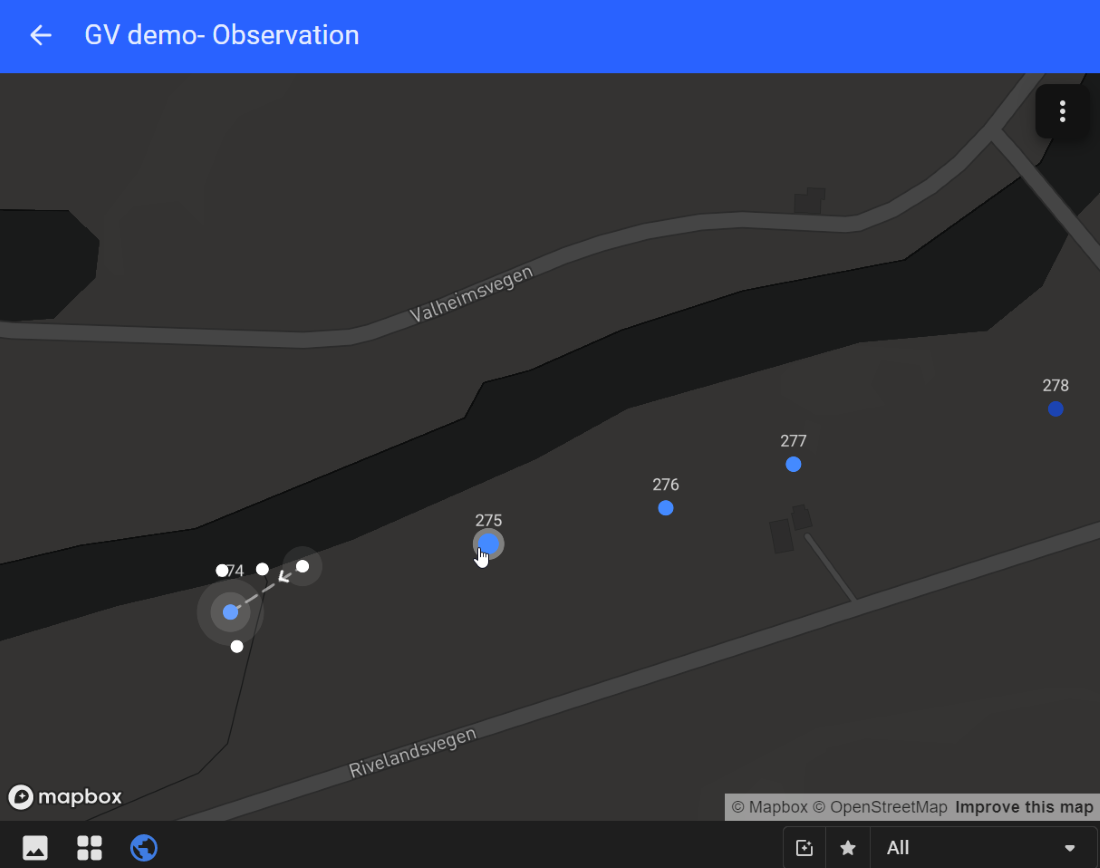
1. Large Map View: In the map view, assets are represented by blue dots and images by white dots. When an image in the image navigator is selected, the relevant white dot in the map is highlighted. If the image contains the image direction then the camera direction of the image is reflected by the arrow next to the dot.
Users can zoom out to view the whole dataset. The selected asset that the user is working on is highlighted. It allows users to know where the selected asset is in the whole inspected area.
Users can navigate to any asset from the map by clicking the asset, or the blue dot.
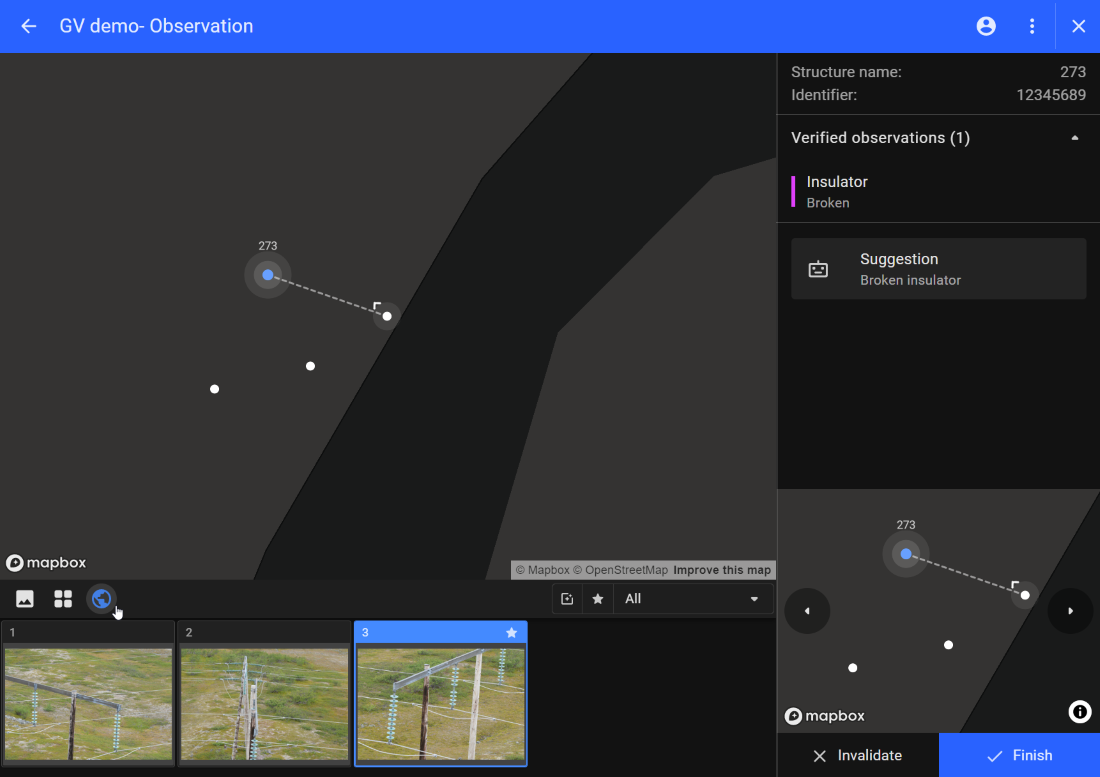
Users can also view the map as 2D or satellite. When users hover over the map, the triple vertical button appears on the top right corner of the map, and then choose the desired view.
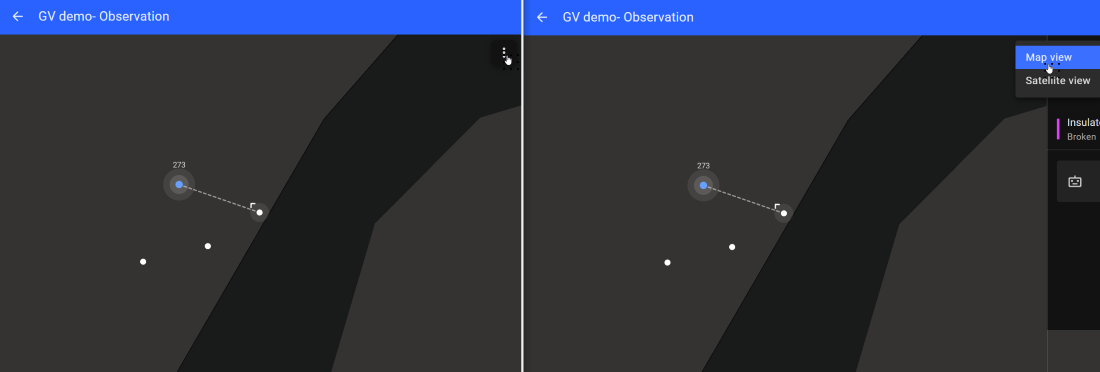
2. Mini-map: The mini-map in the low right corner has similar functions as the large map view.
Navigate to an asset
- Users can navigate to the previous or next asset from the mini-map with the navigation icons.
When an asset is marked as “Finished” or “Invalidated”, users are automatically presented with the next asset.
Pay attention to the filters selected earlier in the Asset overview page when using the previous asset/next asset navigation. - The default filter is “Active”. If the user hasn’t selected the “Finished” filter, the next asset users can move to is the closest asset that is not finished. - For example, if the AI suggestion “Pole woodpecker damage” is selected, the next asset user can move to is the closest asset with a “Pole woodpecker damage” suggestion.
Go back to the Asset overview page if the user needs to change the filters.
-
Users can navigate via map. Zoom out the minimap or large map view to look for the desired asset. Click on the asset (blue dot) and users will be directed to the selected asset.
Relink Images
When opening an asset and finding that some images should belong to different assets, users can relink the images. Right-click an image in the image navigator at the bottom of the window and find the Relink image button. More details are available in Image linking.

Show more detailed AI Results
Besides suggesting defects in an asset, AI also generates more results such as detecting a component or identifying a component material. Users can choose the "Show AI Results" function to view more AI details. More details are available in Show AI result.

Download an image
Users can download the selected image to their system. The size of the downloaded image is reduced compared to the original image size.

View metadata of the image
- Click on the navigator symbol on the top right-hand side of the screen.
- Expand the Metadata and check the information like Filename, Image tag, Image type, Original image width, Original image height, Capture time (in UTC), Coordinates, Media-id, and Sensor id.
- To copy metadata, click on the desired information that exists on Metadata and the "Copied" text will appear to confirm it is copied to the clipboard.
