Image Linking
Grid Vision provides the solution to link an asset to all relevant images captured around it so that inspectors can perform a virtual asset-based inspection.
When images are not linked to the assets, users will be informed after creating a workset. Users can map the unlinked images at this stage (before starting the inspection) or skip them. Users can still do it later during the inspection.
In other cases, users may find some images linked incorrectly to an asset. It is also possible to relink them to the correct asset.
Link the unlinked images
- Users can start linking the unlinked assets to associated assets before starting the inspection. To do so, click on the unlinked text shown right after creating workset.
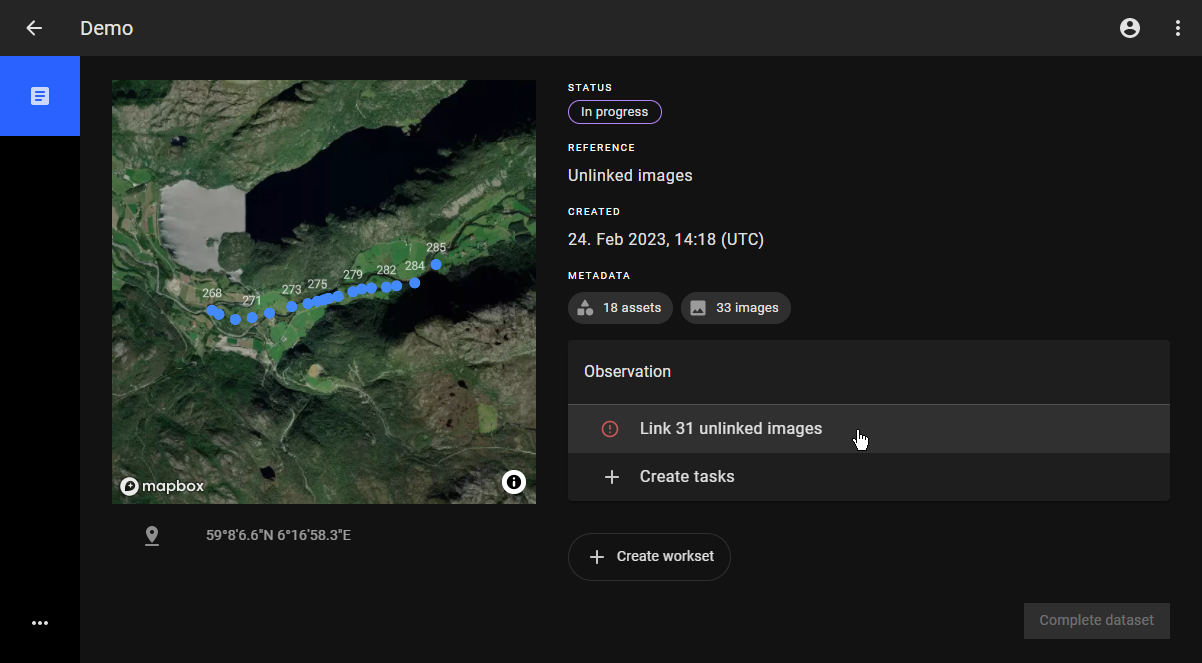
-
Users are redirected to the “Relink images” page.
-
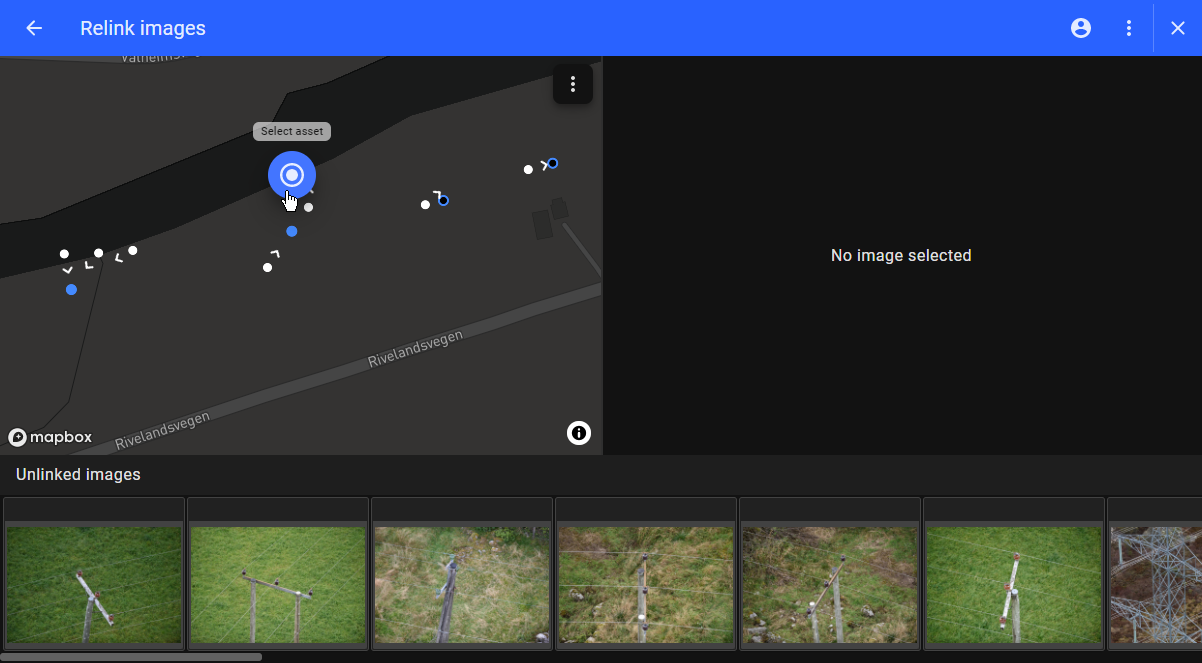
White dot represents an image.
- Blue dot represents an asset.
- Black dot with a blue outline represents an empty asset.
- White dot with an outer layer represents a selected image.
- All unlinked images (thumbnails) are displayed in the image gallery at the bottom of the window.
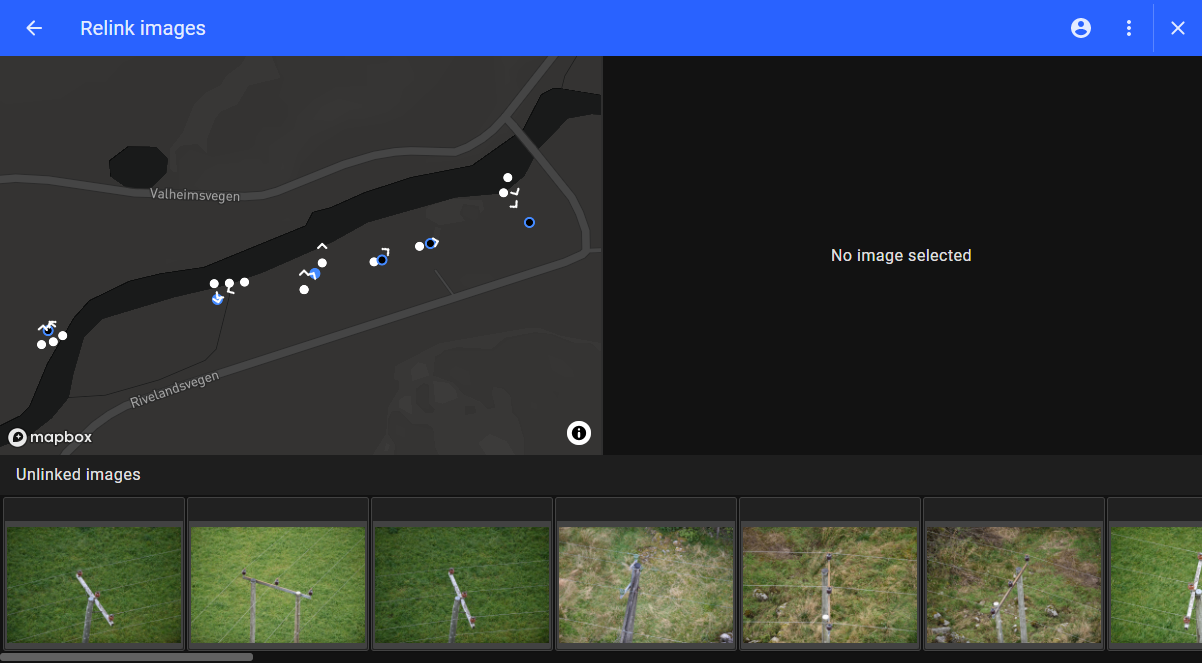
- Click on any image in the image gallery or select a white dot in the map. The selected image will be highlighted on the map and displayed on the right-hand side of the window.
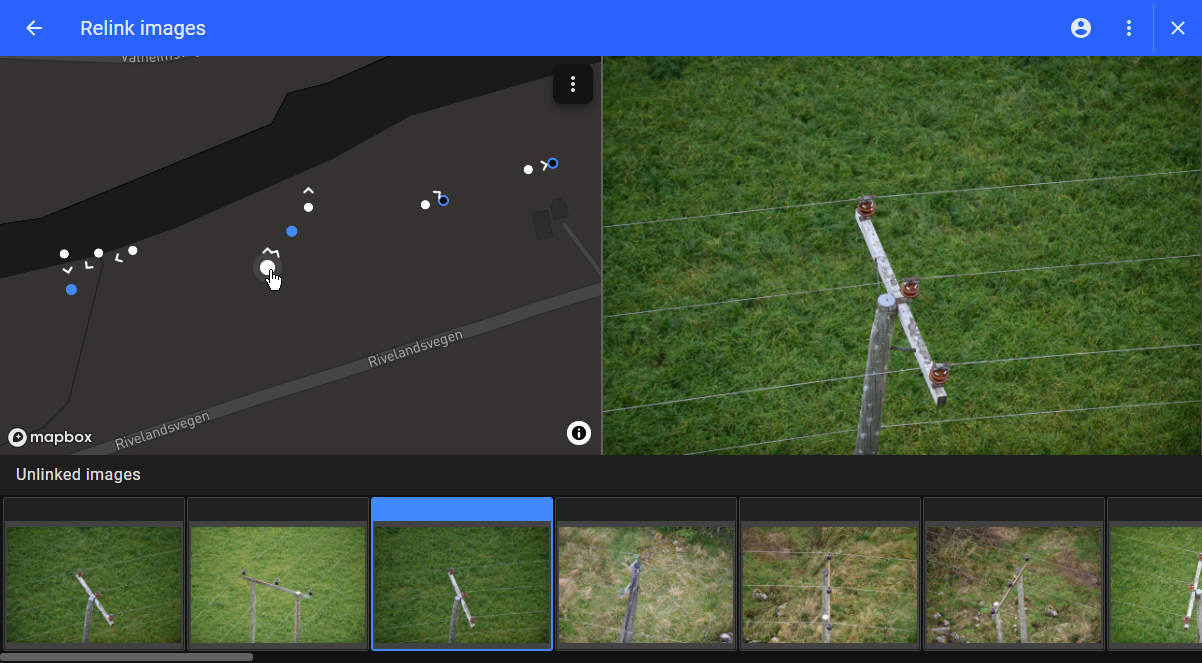
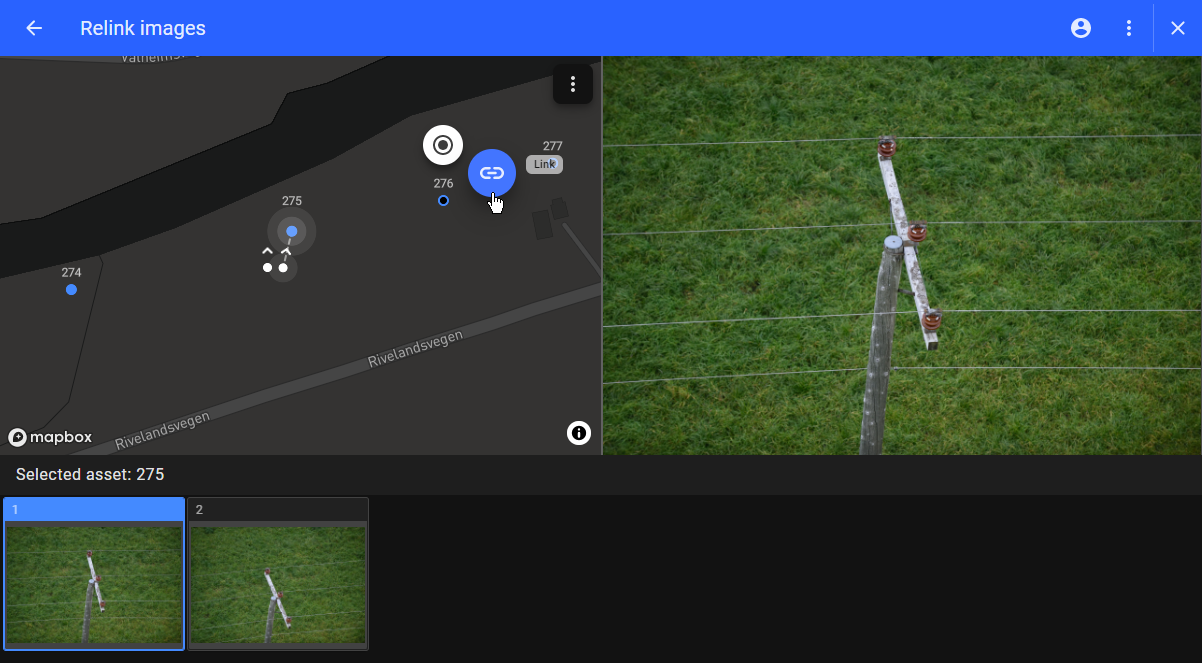
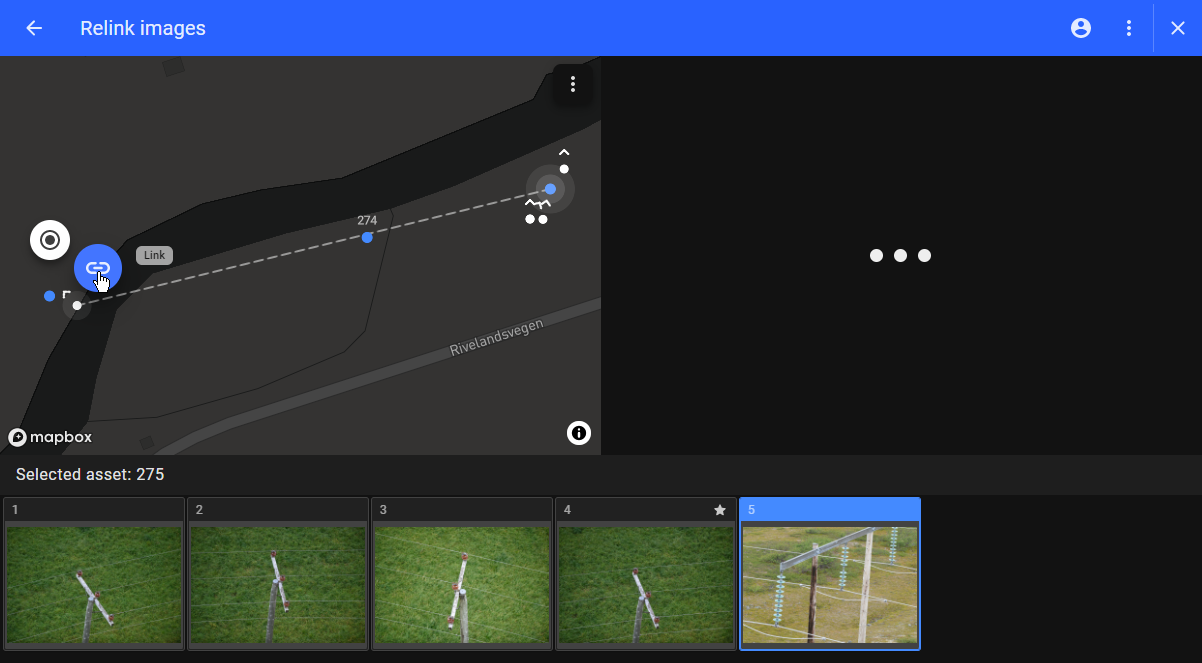
- Click on the associated asset or blue dot which displays two buttons. Click on the "Link" button and the selected image is now linked to the selected asset. A confirmation message will be displayed at the bottom of the window. The newly linked image will be disappeared from the image gallery.
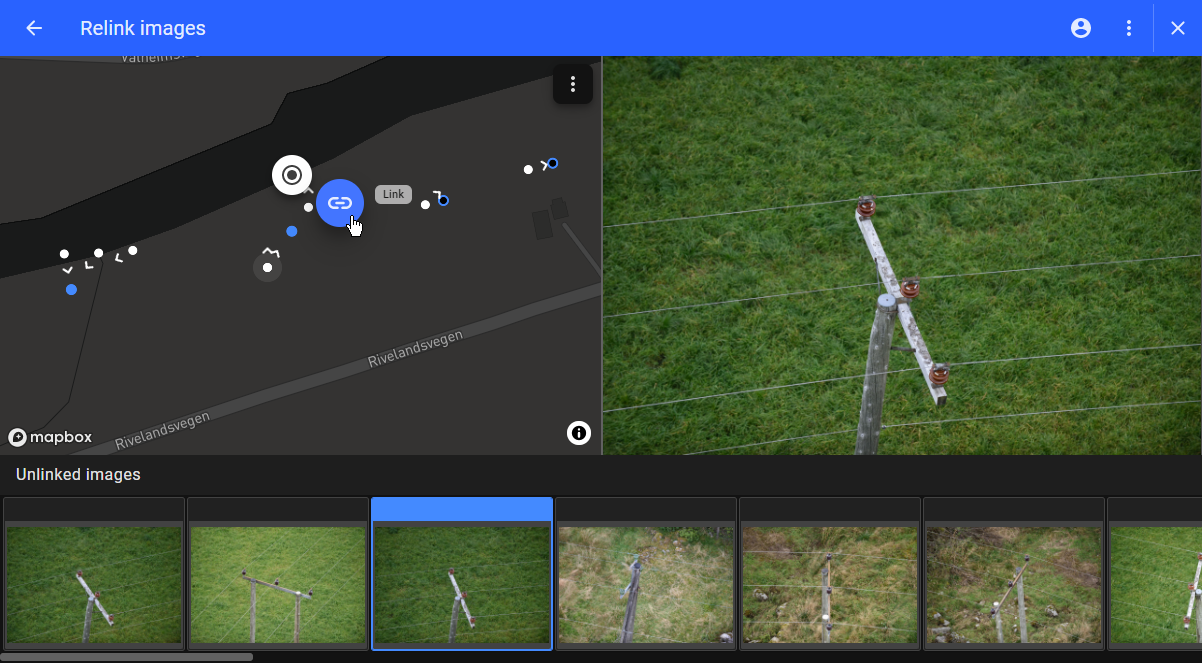
- To view the linked images associated with the asset, click on "Select asset" button. The asset name will be displayed. If it is not available, the asset identifier will be displayed.
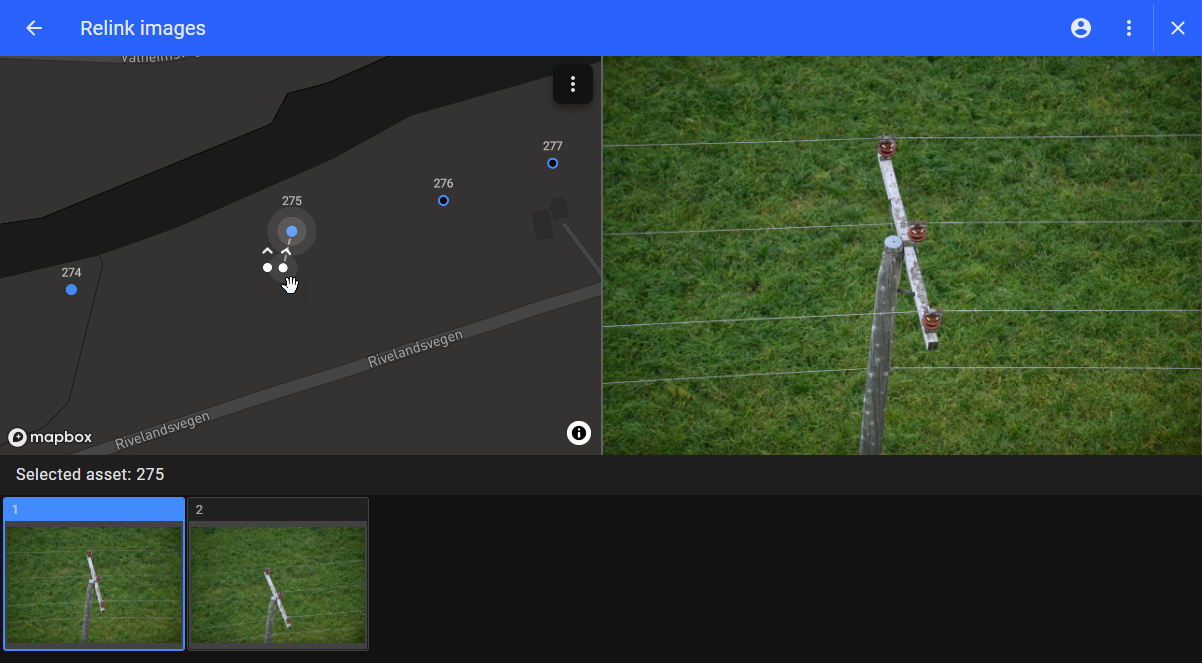
- To change any linked image, users can select an already linked image, then select the other asset and choose the “Link” button of the new asset. That image is then linked to the new asset.
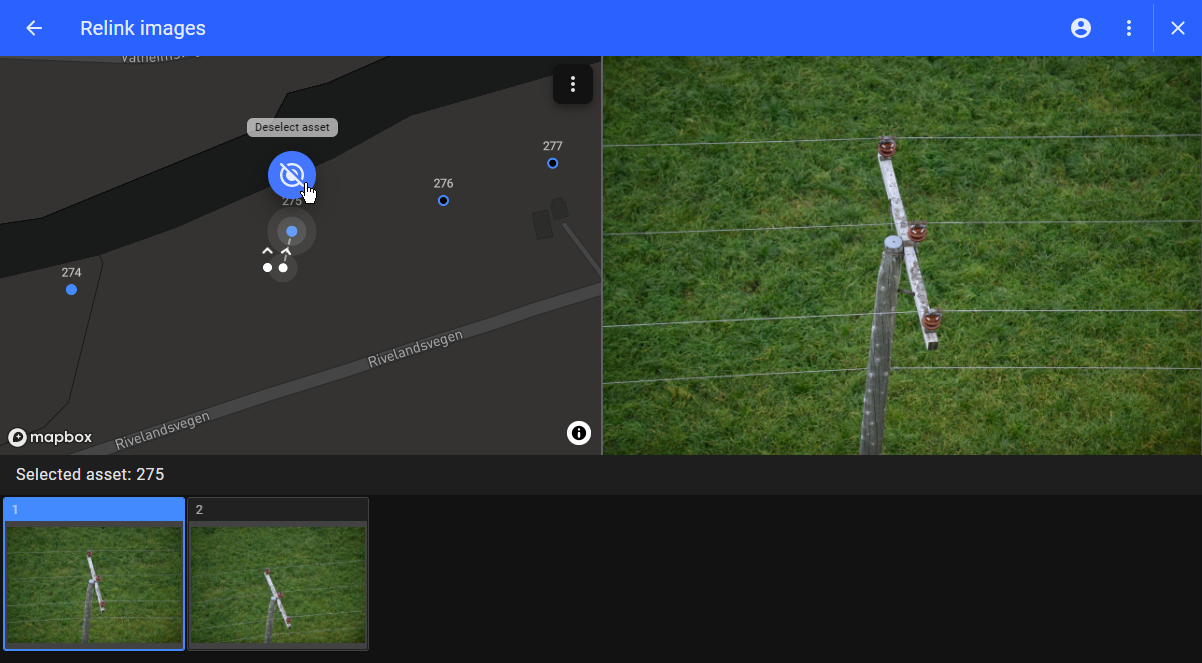
- To display all the unlinked images again, users can select the previously selected asset and click on the "Deselect asset” button.
- After all images have been linked to the associated assets, the Image gallery will be empty.
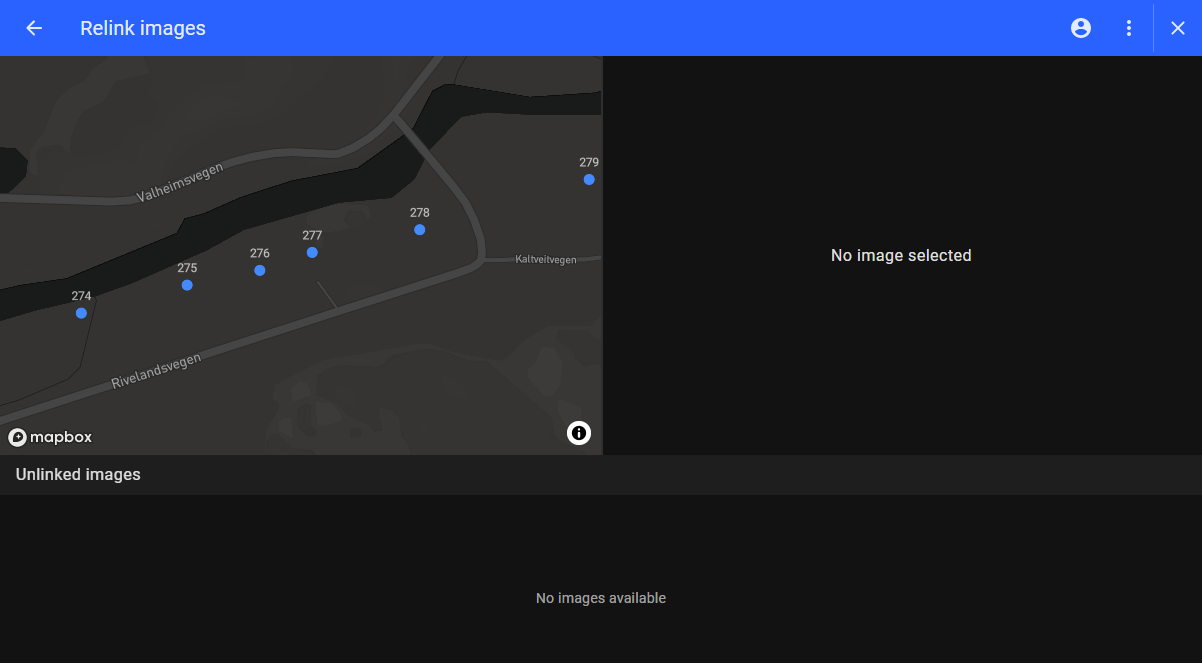
- Users can then select the back button to get out of the Relink images window, assign the work, and start the inspection.
Users can start the inspection without linking all the images. Users can continue with the linking later by selecting the “Relink images” option in the workset box of the Dataset detail page. The Relink images page will be opened, showing all unlinked images for users to continue to link.

NB: If an image does not contain geolocation data, the white dot representing the image is located in the ocean by default. In that case, users should already know which asset that image is associated with and then zoom in to see all the assets (blue dots) on the map and find the correct asset name to link. If the images are too far from the assets and only the images are seen on the map then zoom out of the map and look for the asset.
Relink an image during the inspection
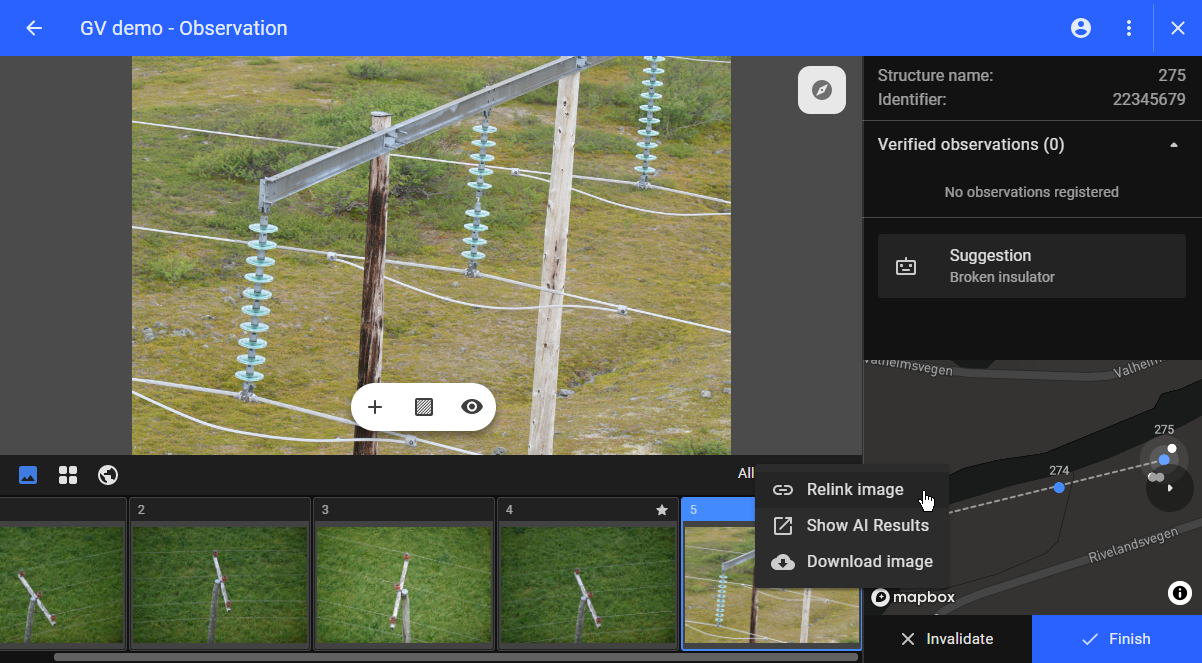
- After creating a workset, assigning the task, and starting the inspection, users can still relink an image to another asset. To do so, right-click on the desired image in the image navigator to open the Contextual Menu and select the Relink image button. The Relink images window will be opened.
- Zoom in on the map to find and select the correct asset, then choose the “Link” button of the new asset. A confirmation window is displayed for users to confirm. If confirmed, that image will be linked to the new asset and disappear from the image gallery of the previously linked asset.
- During the inspection, users can check unlinked images. Users can select the “Relink images” option on the workset. The Relink images page will be opened and allows them to link the unlinked images to the associated assets.

